Markup and Discount Groups
This guide below shows you how to add your manufacturer's discount, retail markup and retail discount to UDesign.
Part 1
How to set a Manufacturer Discount
The manufacturer's Discount is the discount received when buying roofs and glazing from Ultraframe.
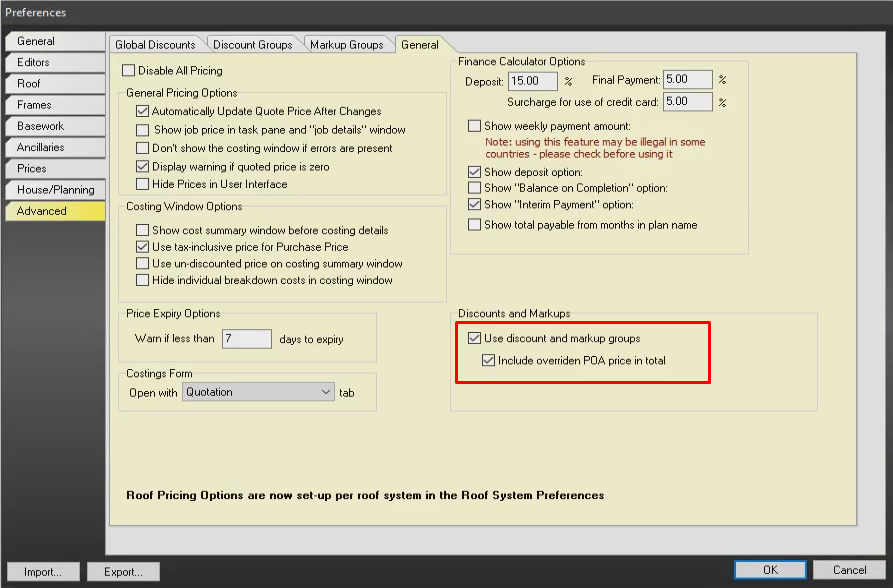
- Enable Use discount and markup groups in Setting>Prices>General
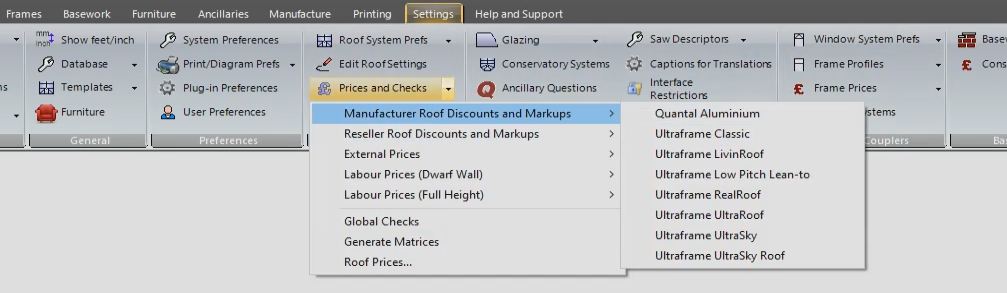
- Create your discount groups in Settings>Prices and Checks>Manufacturer Roof Discount and Markups>(chosen roof system)
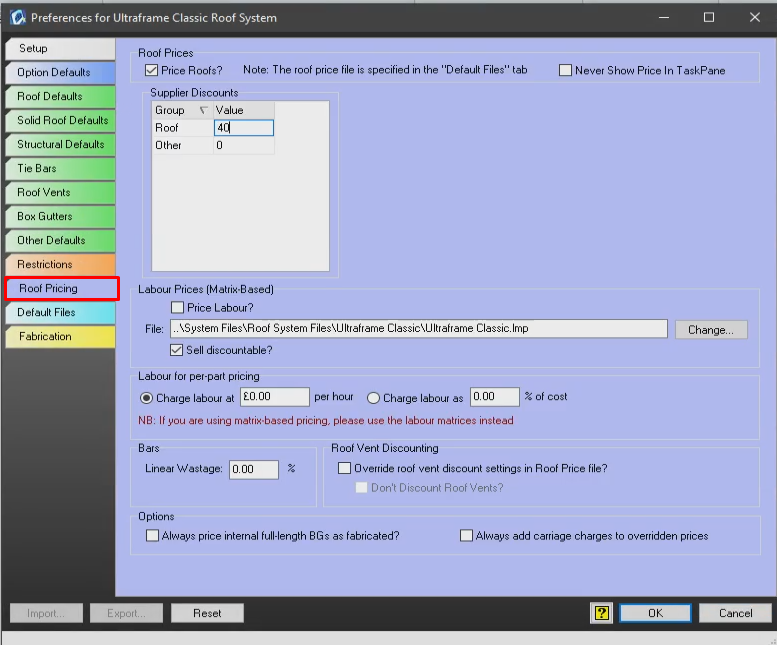
- The top box is the name of the group. The second box down is where you create a filter of which components will be discounted. The third box down is where you select which components are in the filter.
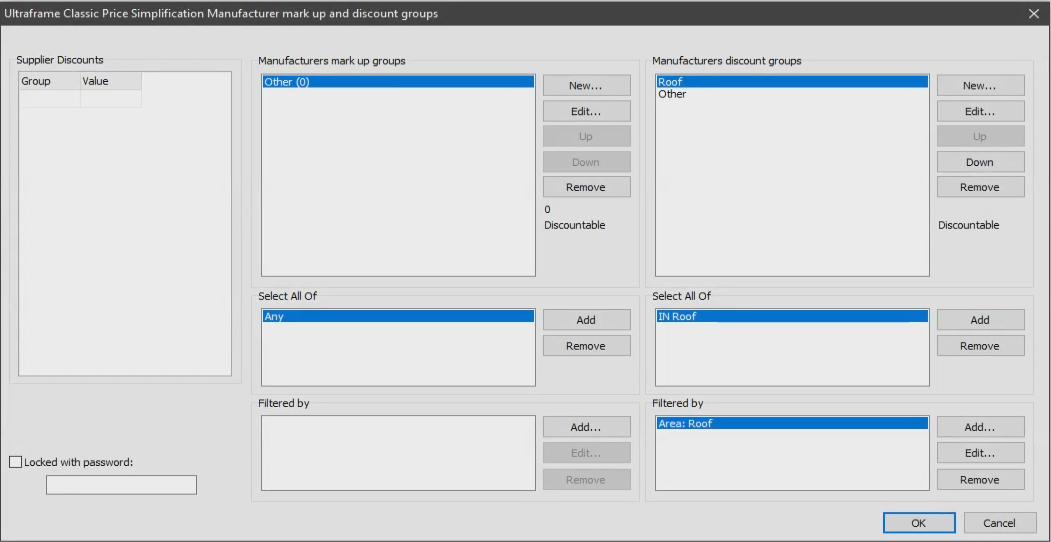
- From the screenshot above you can see I have a discount group called "Roof". In this group it has a filter which selects all the components in the "Roof" area
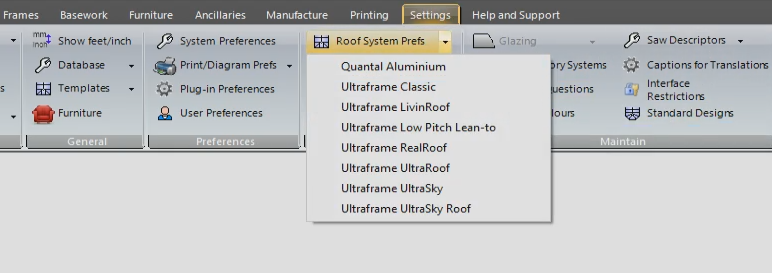
- Set the value of the discount in Settings>Roof System Prefs>(chosen roof system)>Roof Pricing
- Check that the discount is applied in Printing>Sales>Price Breakdown (Detailed)
Part 2
How to set a Retail Markup
The Retail Markup is the markup that you apply after your discount from Ultraframe.
- Go to Settings>System Preferences>Prices>Markup Groups
- Create your Markup Groups and ensure that they are in the correct order using the “Up” and “Down” buttons
- Apply the markup value in Edit>Change Value
- Assign the correct filter to the Group in Filtered By>Add
- Check that the markups are correct in the Price Breakdown (Detailed)
Part 3
How to set a Retail Discount
The retail discount is a discount that you will apply per job and usually is specific to each customer.
- Go to Settings>System Preferences>Prices>Discount Groups
- Create your Discount Groups and ensure that they are in the correct order using the “Up” and “Down” buttons
- Apply the discount value in Job Cost in the 3D tab
- Check that your discounts are correct in the Price Breakdown (Detailed)