Overview
Once you have drawn in the walls, creating the roof shape is very simple.
It is simply a case of visualising the roof shape that you wish to create. Points should then be added only at the starts and ends of any ridges or wallplates. Where two ridges or wallplates connect, you should only add a single point.
I have listed some examples below.
Edwardian - 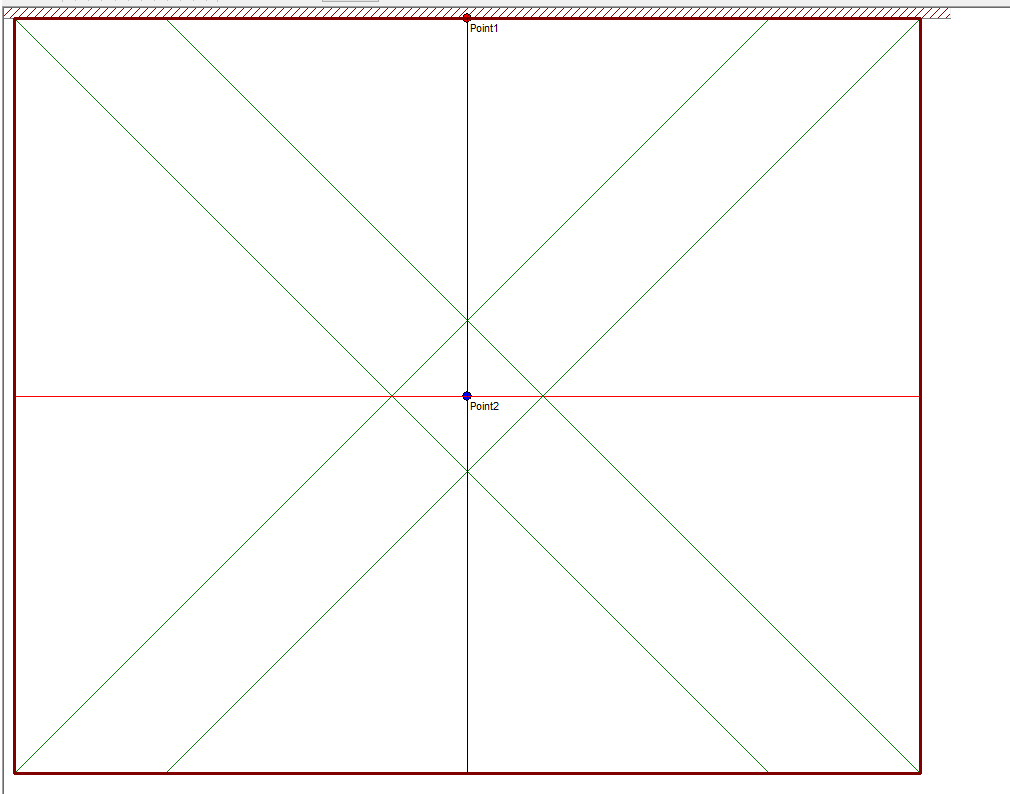
Lean-to - 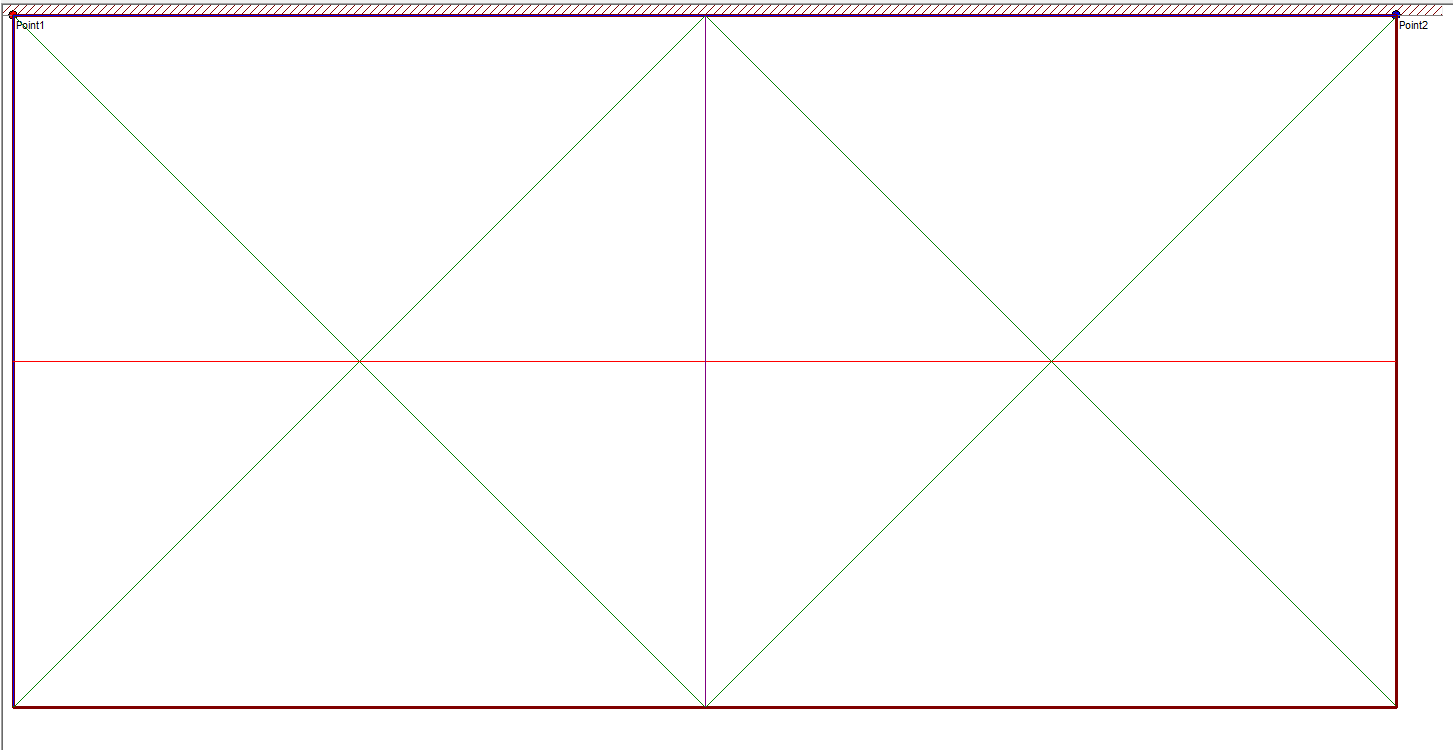
P-Shape - 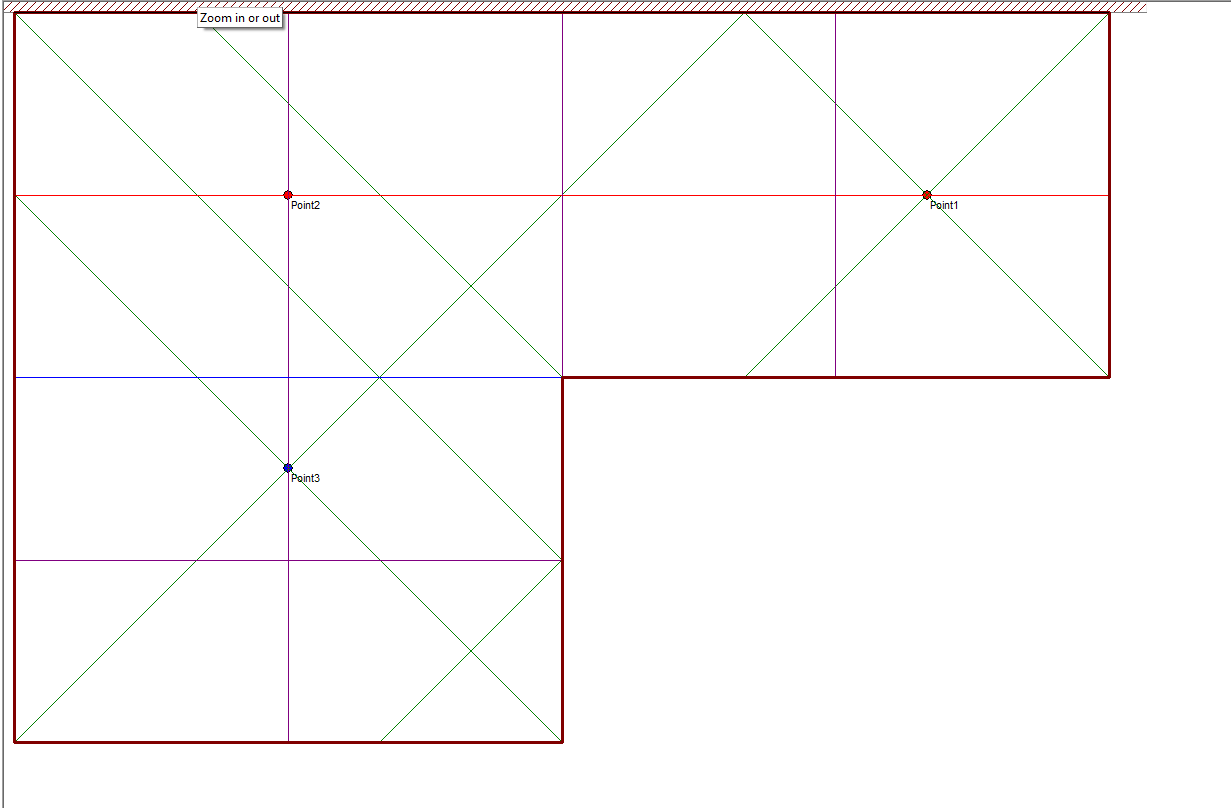
Creating the Roof Shape
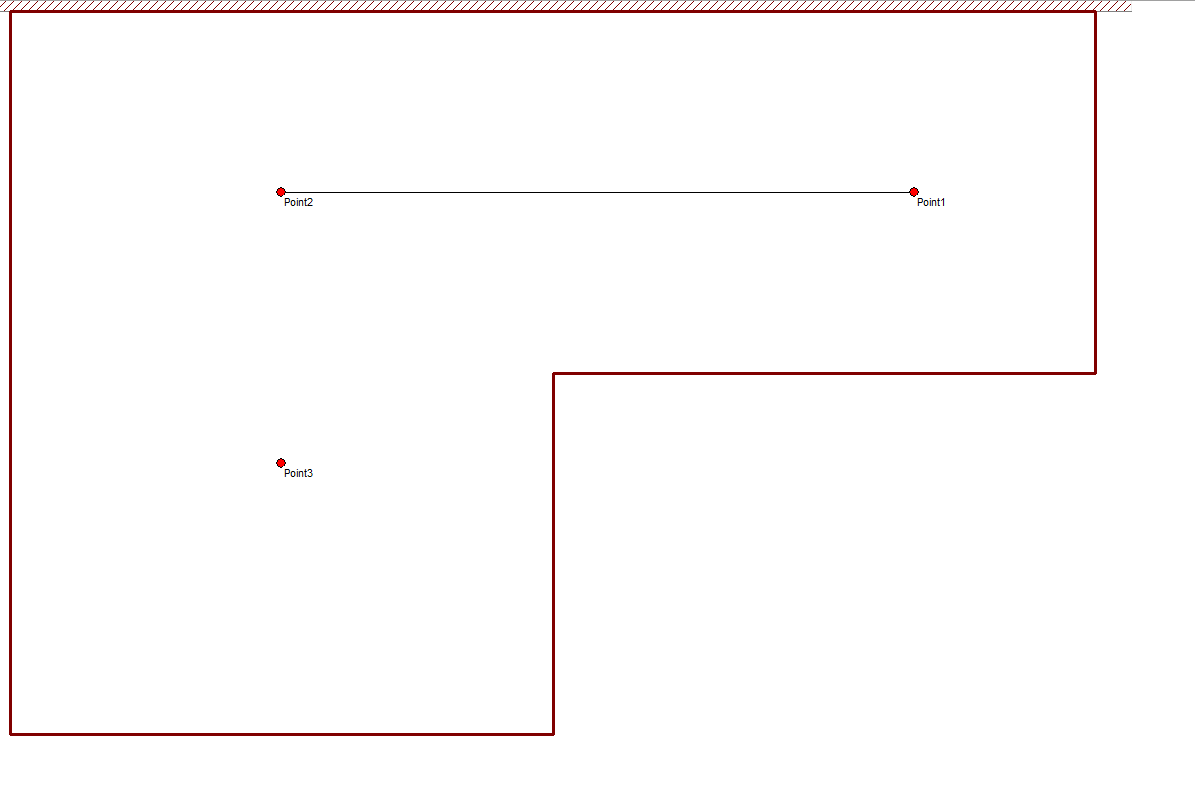
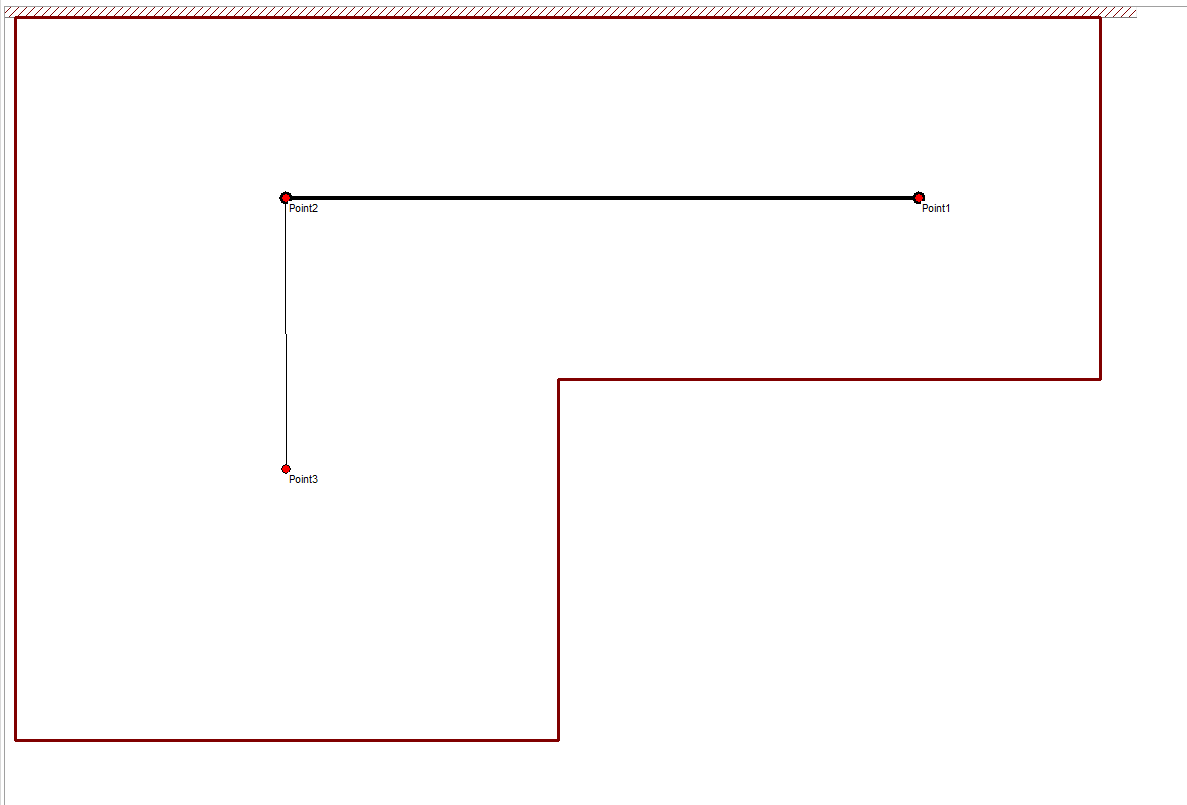
1. In the Points/ Spiders tab, click the where you would like to add points. If you add a point incorrectly in error, click on that point to select it, then either use your Delete key on the keyboard or click Remove Spider
2. Once you have the points all now plotted in as desired (if you are unsure where to put them refer to examples above), click into the Ridges/Wallplates tab. Click and drag from one point to the next to create the ridges and wallplates. Connect all the points until the ridge is created.
3. Once you’ve joined up all the points, click into the Hips/Valleys tab to check the roof shape. The software will generally create these all correctly.
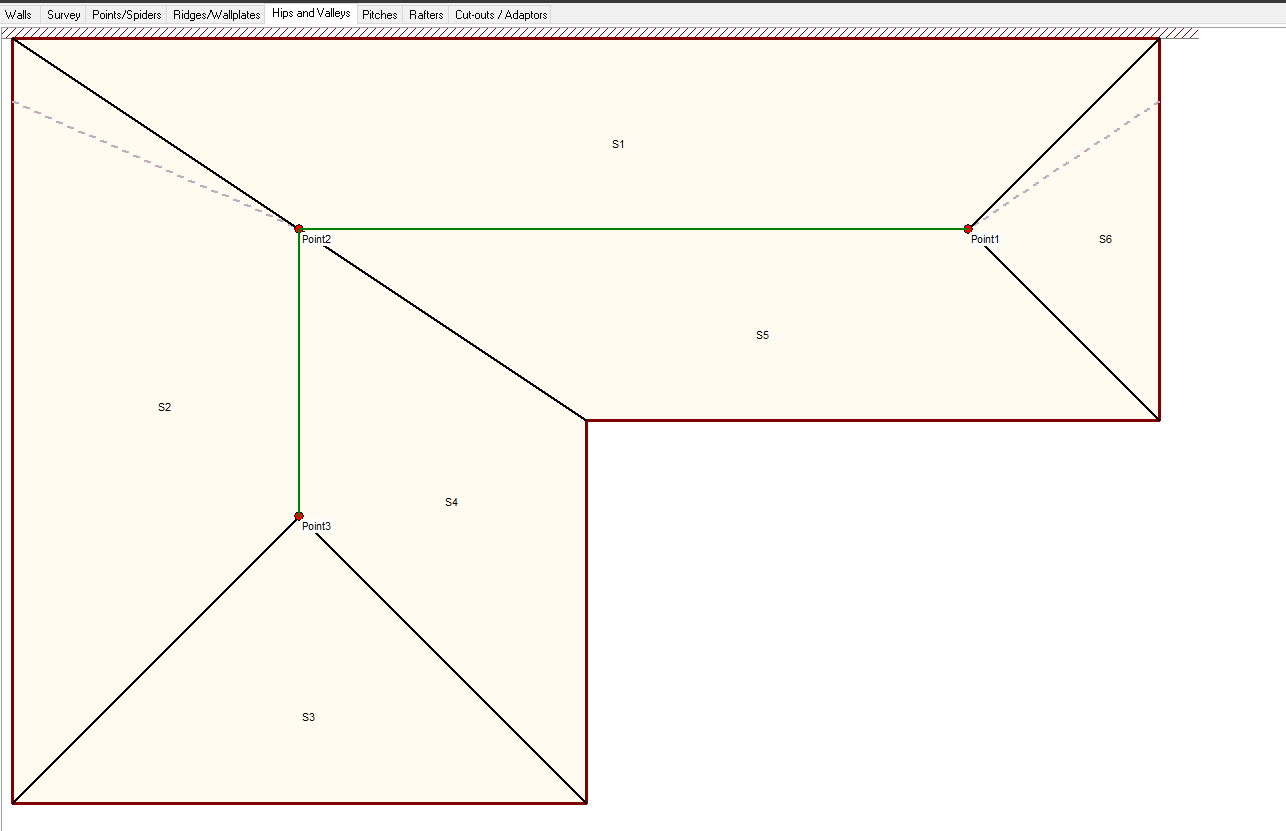
If your roof shape is correct, you can click ‘Next’ through all the remaining tabs. Your drawing is then created in 3D, ready to edit the frames and add final touches to the roof, such as tie-bars and roof vents.
Summary:
- Place a point at each end of each ridge or wall plate.
- Click and drag a line between each point until the ridge or wallplate is correctly drawn.
- Check that the slopes have been correctly drawn.
- Click Finish to complete the bespoke design.